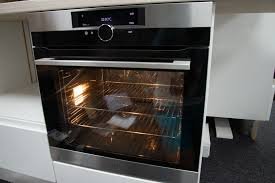
When was the last time you really cleaned your oven, as opposed to just wiping off the odd bit of grease that spilled? Although thinking about cleaning an oven can be scary, most cleaning professionals concur that it has been too long if a deep cleaning hasn’t been done in more than three months. You can typically make up for lost time without using harsh chemicals or the high heat of the self-cleaning feature, so don’t worry. Sometimes the self-cleaning oven option is the best one; we’ll talk about the advantages and disadvantages of that later. For now, though, let’s concentrate on two cleaning industry heroes: baking soda and white vinegar.
These two commonplace items have the power to turn even the dirtiest ovens into spotless appliances. We talked to cleaning specialists to find the finest tips and tactics for cleaning an oven, and they emphasized the importance of baking soda as an oven cleaner above everything else. It works well and is safe for both food and skin. It is also gentle on oil and dirt without scratching the surfaces of your oven. Before we get into the details, continue reading for the answers to some often asked questions about oven cleaning. Below is a detailed walkthrough of an extensive oven cleaning procedure that mostly uses baking soda.
Why is it important to clean the oven?
Cleaning your oven is essential if you care about your family’s health, cleanliness, aromas throughout your house, and the flavor of your food. Any area that comes into close touch with food should constantly be cleaned. An unclean oven can have a negative impact on food flavor and possibly be hazardous to your health.
According to Marla Mock, president of cleaning services provider Molly Maid, “keeping your oven clean not only improves the flavors of your culinary creations but also prevents the accumulation of grease, burnt residue, and potentially harmful bacteria.” “It also lessens the possibility of offensive and undesired odors and helps your oven last longer and remain efficient.”
What is the best way to clean the inside of an oven?
The greatest approach to keep the inside of an oven clean between deep cleaning sessions is to use a moist cloth and hot water to wipe down the interior of the oven after each use, allowing it to cool before continuing. Indeed, it’s an additional chore to add to your cooking and cleaning routine, but it only takes a minute, and it could save you hours later by preventing the need for a thorough cleaning.
If that’s too much, use warm water and a small amount of dish soap to clean it once a week, or at least once a month. With that regular cleaning schedule, any dirt is less likely to accumulate. You will actually save time overall by cleaning the oven less thoroughly the more regularly you do it.
Is using the oven self-cleaning safe?
According to Mock, “using the self-cleaning oven feature is safe and effective as long as your oven is in good working order.” But the process, which uses high temperatures (around 900 to 1,000 degrees) to incinerate residual food particles, usually takes three to six hours to finish.
This may discharge toxic vapors into the air and produce overpowering scents. When using the self-cleaning oven feature, it’s best to keep the room well ventilated to prevent any smells from building up within the house. Keep in mind that every oven is unique, so before attempting the self-clean option, carefully follow the instructions included in your oven’s handbook.
How long does it take to clean an oven?
While there are quick fixes for cleaning ovens, we advise giving the cleaning solution enough time to perform its job correctly. This indicates that it may require 13 or 14 hours to thoroughly clean an oven. This is not active cleaning time, so know that before you throw in the towel. For example, it takes roughly 12 hours for the baking soda paste approach to completely dissolve all of the dirt accumulation. Thus, avoid starting housework 1 hour before you have to make a birthday cake. Because your oven will be out of operation for at least half of the day, make appropriate plans. A piece of advice: After you’ve made dinner in the evening, start cleaning the oven and the oven racks. While you sleep, the baking soda paste will work hard all night.
Here’s a how-to that will help you have a clean oven that you can be proud of.
Step 1: Gather cleaning materials
To ensure your oven shines, collect the following cleaning supplies:
- Baking soda
- Water
- Rubber gloves
- White vinegar
- Spray bottle
- Cleaning rag
Step 2: Remove the oven racks
Remove the oven racks and place them on old newspaper or towels to prevent transferring grime onto your kitchen floor. Also, take out any other items in the oven, such as thermometers or pans.
Step 3: Make the baking soda paste
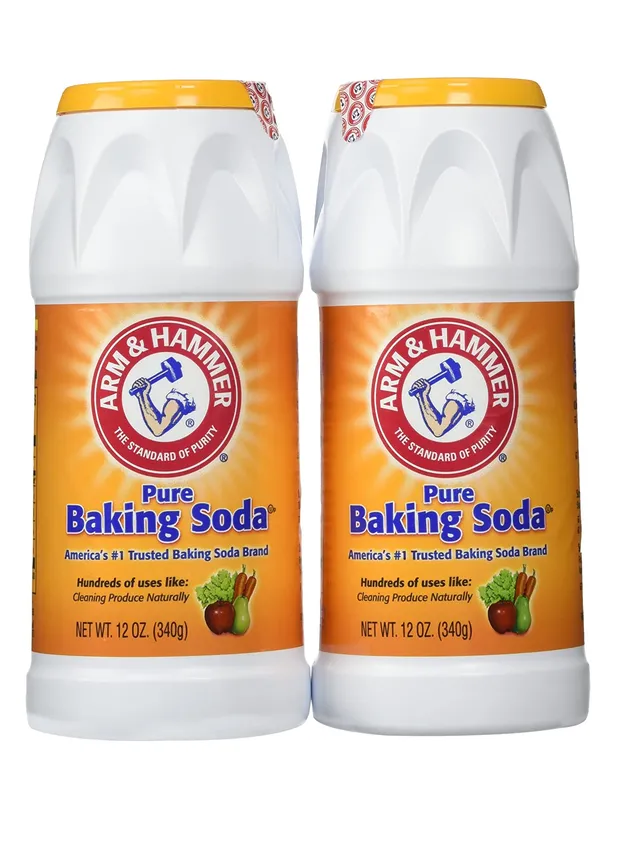
Create a DIY cleaner by mixing equal parts baking soda and water until you achieve a spreadable paste. Begin with half a cup of each ingredient, and increase the amount if necessary. This paste will be applied throughout the oven, so ensure you make enough to cover the entire interior.
Step 4: Apply the cleaning paste
Apply the baking soda paste generously over the oven’s interior. Wearing rubber gloves is advisable to protect your hands from grime. Avoid the heating elements while spreading the paste. Make sure to coat extra greasy areas thoroughly. The paste will darken as it interacts with the grease.
Step 5: Wait at least 12 hours
Allow the baking soda paste to sit on the oven’s interior for a minimum of 12 hours.
Step 6: Tackle dirty oven racks
To clean the oven racks, soak them in hot water for at least two hours. Add a quarter cup of unscented Dr. Bronner’s pure castile soap if the racks are particularly dirty. The bathtub is a great option for this step—place old towels at the bottom to avoid transferring grime to the tub. After soaking, scrub the racks with a brush and rinse thoroughly.
Step 7: Wipe off the baking soda paste
After 12 hours, use a damp cloth to wipe off the baking soda paste and residue from the oven’s interior. For stubborn spots, a spatula or scraper might be necessary. Gently remove the residue to avoid scratching the surface. Steer clear of scouring pads as they may damage the oven.
Step 8: Spray vinegar inside the oven
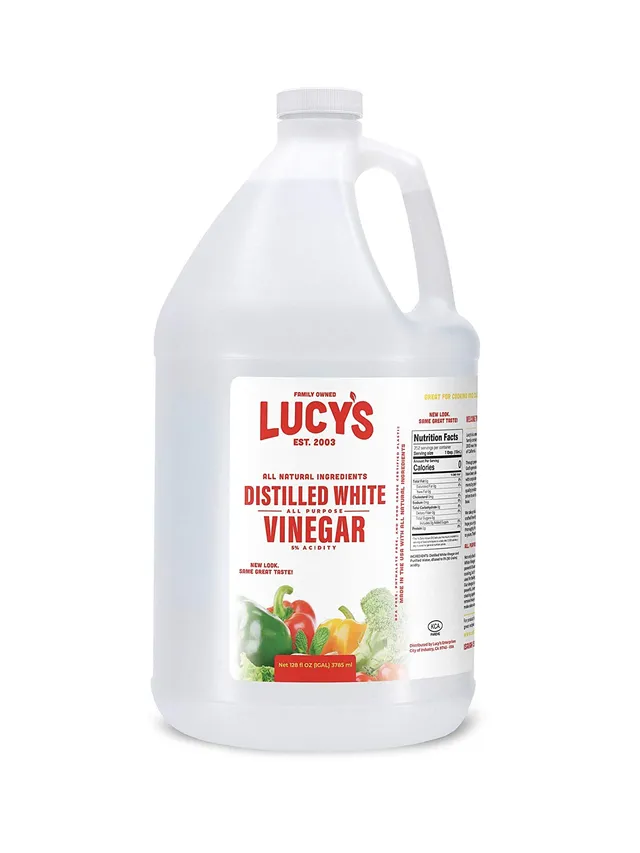
Fill a spray bottle with white vinegar and mist it over the oven’s interior. The vinegar will react with any remaining baking soda paste, causing it to foam and help loosen any remaining residue.
Step 9: Clean the interior of the oven glass
For a clean oven glass, prepare another batch of baking soda paste and apply it to the glass door. Let it sit for about 30 minutes, then wipe it off with a damp rag or paper towel.
Step 10: Wipe down oven doors and knobs
Finally, clean the exterior of the oven door using a natural vinegar cleaner. Mix equal parts water and white vinegar, spray it onto a rag, and wipe down the exterior. Avoid spraying directly onto knobs and control panels to prevent potential electrical issues. Buff the surface until it’s free of spots and streaks. For stainless steel ovens, use a microfiber cloth for a polished finish.