Keeping your bathroom sparkling clean doesn’t have to be a chore—having a clear, step-by-step approach makes the task faster, easier, and more effective. A clean bathroom not only looks great but also helps prevent germs, mold, and unpleasant odors. Begin by removing all items from counters, shelves, and the shower or bathtub area to give yourself space to work. Dust or sweep surfaces first to clear hair, debris, and loose dirt.
Next, tackle the toilet, using disinfectant and a brush to scrub under the rim, around the seat, and in the bowl. Move on to sinks, faucets, and countertops with an all-purpose cleaner, paying attention to any soap scum or toothpaste buildup.
Clean mirrors and glass with streak-free spray. Finish by scrubbing the shower or tub, disinfecting handles and knobs, and mopping the floor. Following a systematic routine ensures every corner is hygienic and sparkling, keeping your bathroom fresh and inviting.
Why a Clean Bathroom Sets the Tone for Your Home
Many people underestimate how much a bathroom reflects the overall cleanliness of a home. In fact, a sparkling bathroom often gives the impression that the entire house is well-kept. While cleaning a bathroom can feel like a daunting task—especially when dealing with grime, soap scum, or mildew—keeping it clean is key not just for hygiene but also for comfort and pride.
Whether you live alone, with a partner, or in a busy household, establishing a routine for bathroom cleaning can make the space feel fresh and inviting. By following practical strategies, you can transform this necessary chore from tedious to manageable, leaving a lasting impression on guests and family members alike.
Key Tips Before You Start Cleaning Your Bathroom
Before diving into scrubbing every surface, keep these strategies in mind to make your cleaning process smoother and more efficient:
1. Start With Dry Cleaning
Jumping straight into wet cleaning can turn dust and hair into sticky, hard-to-remove messes. Begin with dusting surfaces like light fixtures, counters, and shelves. Pay attention to baseboards, corners, and the top edges of the bathtub. Dusting first makes subsequent cleaning easier and prevents residue buildup.
2. Use Disinfectants Strategically
Disinfecting every corner may seem thorough, but it’s unnecessary and can be wasteful. Focus disinfectants on high-touch and high-germ areas like the toilet bowl, faucet handles, and shower knobs. For other surfaces, an all-purpose cleaner or mild solutions such as diluted vinegar often works just as well.
3. Declutter Before Cleaning
A cluttered bathroom not only looks messy but also makes cleaning more difficult. Organize toiletries into cabinets or drawers, discard expired products, and minimize items on countertops. A decluttered space makes your cleaning efforts more effective and helps maintain order long-term.
4. Gather Your Cleaning Supplies
Having all your tools and products ready prevents interruptions and keeps you focused. Keep a basket of essential cleaning items—microfiber cloths, brushes, sprays, and gloves—within reach to streamline the process.
5. Clean From Top to Bottom
Always start cleaning from the highest surfaces and work your way down. This method prevents dirt or dust from falling onto surfaces you’ve already cleaned. For example, wipe countertops before mopping floors, and dust light fixtures before wiping counters. This systematic approach ensures nothing gets missed or dirtied twice.
Essential Bathroom Cleaning Tools to Have
Using the right tools makes a big difference in both efficiency and results. Here’s a list of items that are particularly helpful for bathroom cleaning:
- Microfiber Cloths: Excellent for dusting, polishing surfaces, and streak-free mirrors.
- Glass Cleaner: Ensures mirrors and shower doors remain clear and streak-free.
- Scrubbing Powder: Baking soda works well for sinks, but tougher stains may require a stronger cleaner like Bar Keeper’s Friend.
- Vacuum Cleaner: Perfect for rugs, bath mats, and even hard-to-reach corners.
- All-Purpose Cleaner: Versatile for countertops, cabinets, and faucets.
- Stone Cleaner: Necessary for granite or natural stone surfaces to avoid damage.
- Dusters with Extendable Handles: Reach high surfaces, baseboards, and light fixtures easily.
- Scrub Pads and Brushes: Various sizes help clean sinks, tubs, tiles, and grout effectively.
- Distilled White Vinegar and Dish Soap: Affordable, nontoxic, and effective at dissolving soap scum.
- Plastic Bag and Rubber Band: Useful for soaking and cleaning showerheads.
- Squeegee: Keeps mirrors, glass doors, and windows streak-free.
- Disinfectant Wipes or Sprays: Focus on high-touch areas like the toilet seat, faucet handles, and door knobs.
How to Clean a Bathroom: Step-by-Step Guide

Follow this checklist for a thorough bathroom cleaning session, which can typically be completed in about an hour:
1. Remove Rugs and Towels
Begin your bathroom cleaning session by taking out all rugs, mats, and towels. These items can trap dust, hair, and moisture, which can make your bathroom feel less clean. Shake off any loose debris from rugs before vacuuming them thoroughly. If they are machine-washable, wash them with your usual laundry detergent and, if possible, add a cup of white vinegar to help remove odors and kill bacteria. Towels, especially hand towels and bath towels, should also be laundered regularly. Removing these items gives you complete access to the floor, ensuring that every corner—especially behind the toilet and under cabinets—can be cleaned properly.
2. Dust and Vacuum Surfaces
Dusting is a crucial first step before introducing any liquids or sprays. Start from the top surfaces—light fixtures, vents, shelves, and the tops of cabinets—so that dust falls to lower surfaces you can clean later. Use a microfiber cloth, which traps dust instead of just moving it around, or a duster with an extendable handle for hard-to-reach areas. Don’t forget less obvious spots, such as the tops of mirrors, baseboards, and the exterior of the toilet tank. For efficiency, you can also use a vacuum cleaner with a nozzle or brush attachment to collect dust from corners, crevices, and rugs that are still in place. Dusting first prevents hair and dust from mixing with wet cleaning products, which can leave a sticky residue.
3. Clean Glass and Mirrors
Mirrors and glass surfaces often show streaks and water spots if not cleaned properly. Use a commercial glass cleaner or a homemade solution of equal parts water and white vinegar for an eco-friendly option. Spray lightly to avoid excess runoff, which can drip onto floors or counters. Wipe the surface using a lint-free cloth, microfiber cloth, or even a clean cotton T-shirt. For a polished look, finish with a squeegee to prevent streaks. Pay attention to shower doors, glass panels, and small bathroom windows. If soap scum is present, a mixture of vinegar and a few drops of dish soap applied directly can break it down before wiping clean.
4. Shine Faucets and Fixtures
Faucets, shower handles, and other metal fixtures are high-touch surfaces that can accumulate grime, water spots, and fingerprints. Spray them with an all-purpose cleaner or glass cleaner and wipe with a soft cloth. For stubborn dirt around seams and joints, use a small scrub brush or an old toothbrush to reach hidden crevices. Dry thoroughly with a microfiber cloth to avoid water spots. Polishing your fixtures not only makes them look new but also slows down buildup by removing residues that attract dust and grime. For chrome or stainless steel, a tiny bit of olive oil can also add extra shine.
5. Clean Countertop Items
Before wiping down counters, remove everything on top, including soap dispensers, toothbrush holders, trays, and decorative items. Dust them if necessary and then clean using an all-purpose cleaner or mild soap solution. Pay attention to crevices or decorative grooves in containers where dirt can hide. Wiping these items ensures that every surface on your countertop is hygienic, not just the flat areas. Replacing items neatly after cleaning also gives the bathroom a fresh, organized look.
6. Wipe Counters
Now focus on your countertops. If you have granite, marble, or other natural stone surfaces, use a cleaner specifically designed for stone to prevent etching or dulling. For laminate or solid-surface counters, a general all-purpose cleaner works fine. Always wipe counters from back to front to avoid spreading dirt to areas you’ve already cleaned. Clean the counters before tackling the sinks, since water and residue from cleaning the countertop can easily fall into the sink area, saving you from having to redo your work.
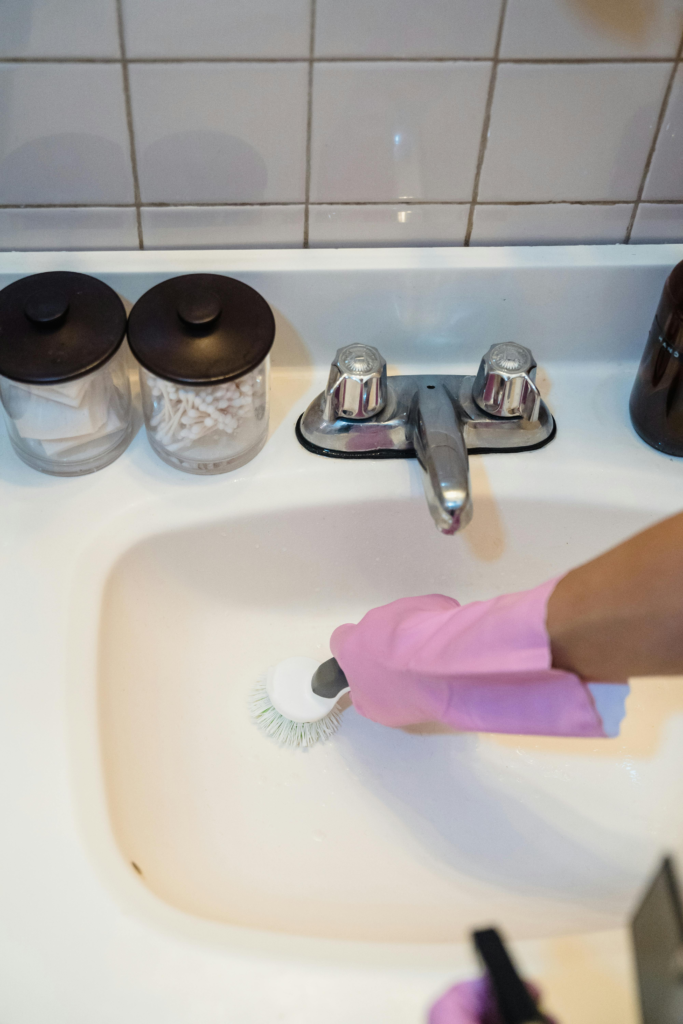
7. Scrub Sinks and Tubs
Sinks and tubs are often hotspots for soap scum, toothpaste residue, and mildew. Sprinkle a layer of baking soda or a mild abrasive cleaner, like Bar Keeper’s Friend, and scrub using a nonabrasive sponge or brush. Work in circular motions from the edges toward the drain, focusing on corners, faucet bases, and overflow areas where buildup accumulates. For tough spots, let the cleaner sit for a few minutes to loosen grime. Rinse thoroughly with warm water and wipe dry with a microfiber cloth to prevent water spots and soap residue.
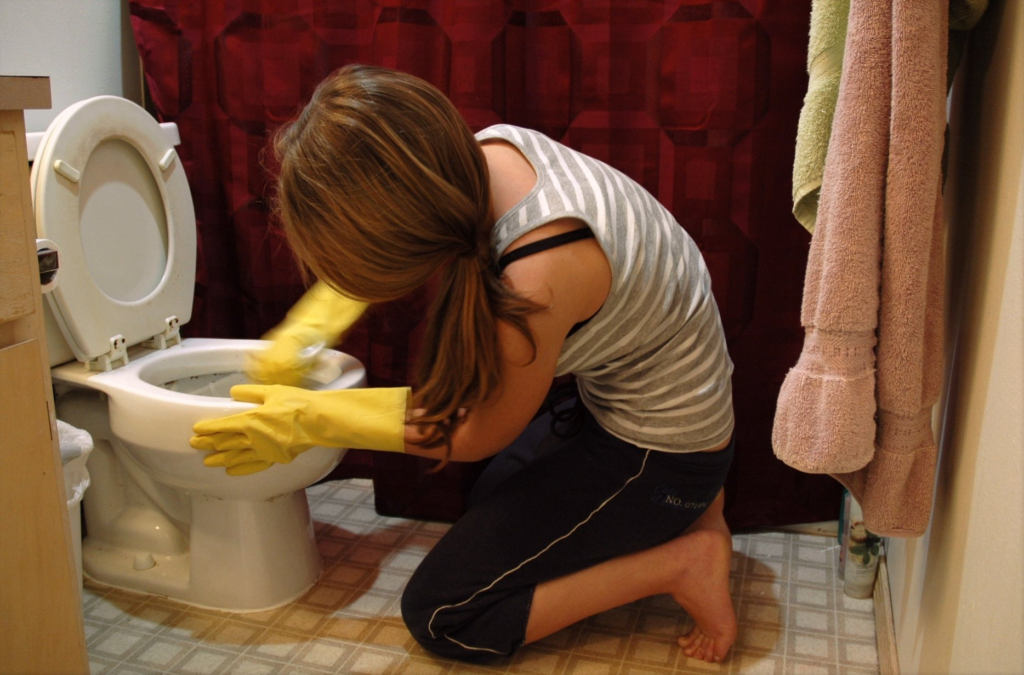
8. Clean the Toilet
Start with the outside of the toilet, wiping from top to bottom: tank lid, flush handle, and sides. Then move to the seat and lid, cleaning the top and bottom surfaces. For the toilet bowl, apply a toilet cleaner under the rim and allow it to sit for a few minutes. Scrub all interior surfaces, including under the rim and around the drain. For hygiene, rinse the brush after use, letting it drip dry over the bowl. Don’t forget hidden areas like the base and hinges, which often trap dust and grime. Using gloves during this step ensures both safety and hygiene.
9. Clean Floors
Once all other surfaces are cleaned, focus on the floors. Start with baseboards, wiping them down with a damp cloth or cleaning solution. Then clean the floor thoroughly, using a mop, microfiber cloth, or vacuum for corners and tight spaces. Pay special attention to areas behind and around the toilet, where hair, dust, and debris often collect. For tiled floors, consider using a gentle tile cleaner to remove stains and restore shine. Dry the floor completely to prevent slip hazards and water spots.
10. Disinfect High-Touch Areas
High-touch areas like faucet handles, door knobs, light switches, cabinet handles, and the toilet seat harbor germs. After cleaning, apply a disinfecting spray or wipes to these surfaces. Focus on areas most likely to be touched multiple times a day. Using disinfectants sparingly prevents chemical overuse while ensuring the bathroom is hygienic and safe.
11. Add the Finishing Touches
Finally, make your bathroom feel fresh and inviting. Replace freshly laundered towels and bath mats. Refill soap dispensers, toilet paper, and other essentials. Empty the trash and wipe down the bin if needed. For an extra touch, consider a light air freshener or essential oil diffuser. Organize items neatly on counters or shelves, leaving the bathroom not just clean, but visually appealing and ready for use.
Deep Cleaning Tips for Monthly or Periodic Tasks
Routine cleaning maintains a bathroom’s cleanliness, but certain tasks require extra attention every month or few months:
- Wash Shower Curtains and Liners: Prevent mold and bacterial buildup. Most plastic and fabric curtains can be washed in a machine.
- Scrub Tile and Grout: Clean tiles monthly and grout three to four times a year. Use a scrub brush and a suitable cleaner for effective results.
- Descale Showerheads: Soak in vinegar for several hours or overnight to remove mineral deposits. Scrub residue and run water to flush.
- Clean Under Toilet Hinges: Dirt can accumulate in hidden areas; remove toilet seats if necessary to fully clean.
- Remove Soap Scum: Mix vinegar, dish soap, and warm water to dissolve buildup on glass doors and fixtures. Wipe and finish with glass cleaner for a shiny look.
By combining weekly cleaning with these deeper monthly tasks, your bathroom will remain hygienic, fresh, and a joy to use.